
The first thing I always say to people when getting StickeredUp4LeMans is that it’s the overall effect you are after. Don’t worry if the application isn’t 100% perfect. For most people the stickers are only going to be on their car for a few weeks, and they aren’t going to be closely inspected by 99% of the people who see them, so it doesn’t really matter it there are one or two small air bubbles or if the “Ear protection required” sticker is slightly skew whiff. Getting stickered up is meant to be fun, so enjoy it!
There are however a few tips that can be used to make the stickering up experience a lot less stressful!! Here’s our top 10...
- Planning. Don’t leave it too late to get your stickers ordered. Bear in mind that with so many cars getting stickered up it is a busy time of year for us. If you have a special custom theme in mind then get it designed and ordered now! The cars with the best graphics usually plan ahead and it’s not unusual for us to be supplying graphics in December for the next year’s race.
- Make sure your paintwork is in sound condition. If you still have your showroom paintjob and it’s less than 10 years old then you shouldn’t have any problems at all. If however you’ve just had a respray then think twice about applying stickers – you should wait at least 3 months and then only apply if the work has been guaranteed. A bit of common sense is all that’s needed! Also, don’t apply stickers on top of Armourfend or any other paint protection coatings as the removal of the sticker will more than likely remove the protection coating at the same time. If you’ve had your car from new and are applying to factory paint then you should be OK but think twice if you suspect that a previous owner might have taken shortcuts when having a respray. All of our products are printed to reputable materials from 3M, Avery & Hexis and have been designed for application to vehicles.
- Make sure your car is very clean before you attempt to apply your stickers. Some people like to wax beforehand so there is a layer of wax between the adhesive of the sticker and the paint for extra protection and to make removal afterwards a little easier. This is fine if the stickers are only going to be on the car for a few weeks. If however they’re going to be on for longer then we would recommend that the surface is clean and wax free so that the sticker adhesive doesn’t react with the wax (unlikely but possible). If in doubt, clean your car in the usual way and remove any contaminants by wiping over with Isopropyl alcohol.
- Don’t apply your stickers if it’s really hot! A hot sunny day can get you into all sorts of trouble! Your stickers will be printed to a self adhesive vinyl with is about 80-100microns thick (that’s less than 1/10th of a mm). As soon as it is subjected to a heat source (your bodywork gets very hot when it’s out in the sun) the sticker will appear to melt. It will go very flimsy and it will be almost impossible to apply. If you have no choice but to apply on a hot sunny day then run a hose with cold water over the panel to cool it down first and make sure you use the “wet application” method described below.
- Have someone on standby to help. An extra pair of hands will make life so much easier, especially if you are applying viper stripes.
- Have the right tools on hand. Ideally you will need a household spray bottle filled with water and a couple of drops of washing up liquid (or baby oil for the more adventurous!!), a squeegee (either a plastic one with a soft edge or a felt one), a small sharp blade for trimming any loose ends and some isopropyl alcohol for cleaning bodywork, removing tar spots and removing any adhesive when you remove the stickers. It’s also a good idea to have some masking tape and/or a chinagraph pencil to hand. With the masking tape you can temporarily hold the stickers in place while you stand back to check positioning and alignment. You can then mark where the edges of the sticker will be using the chinagraph pencil. Remove the sticker from the backing paper and apply, aligning with the marks you made. Perfect!
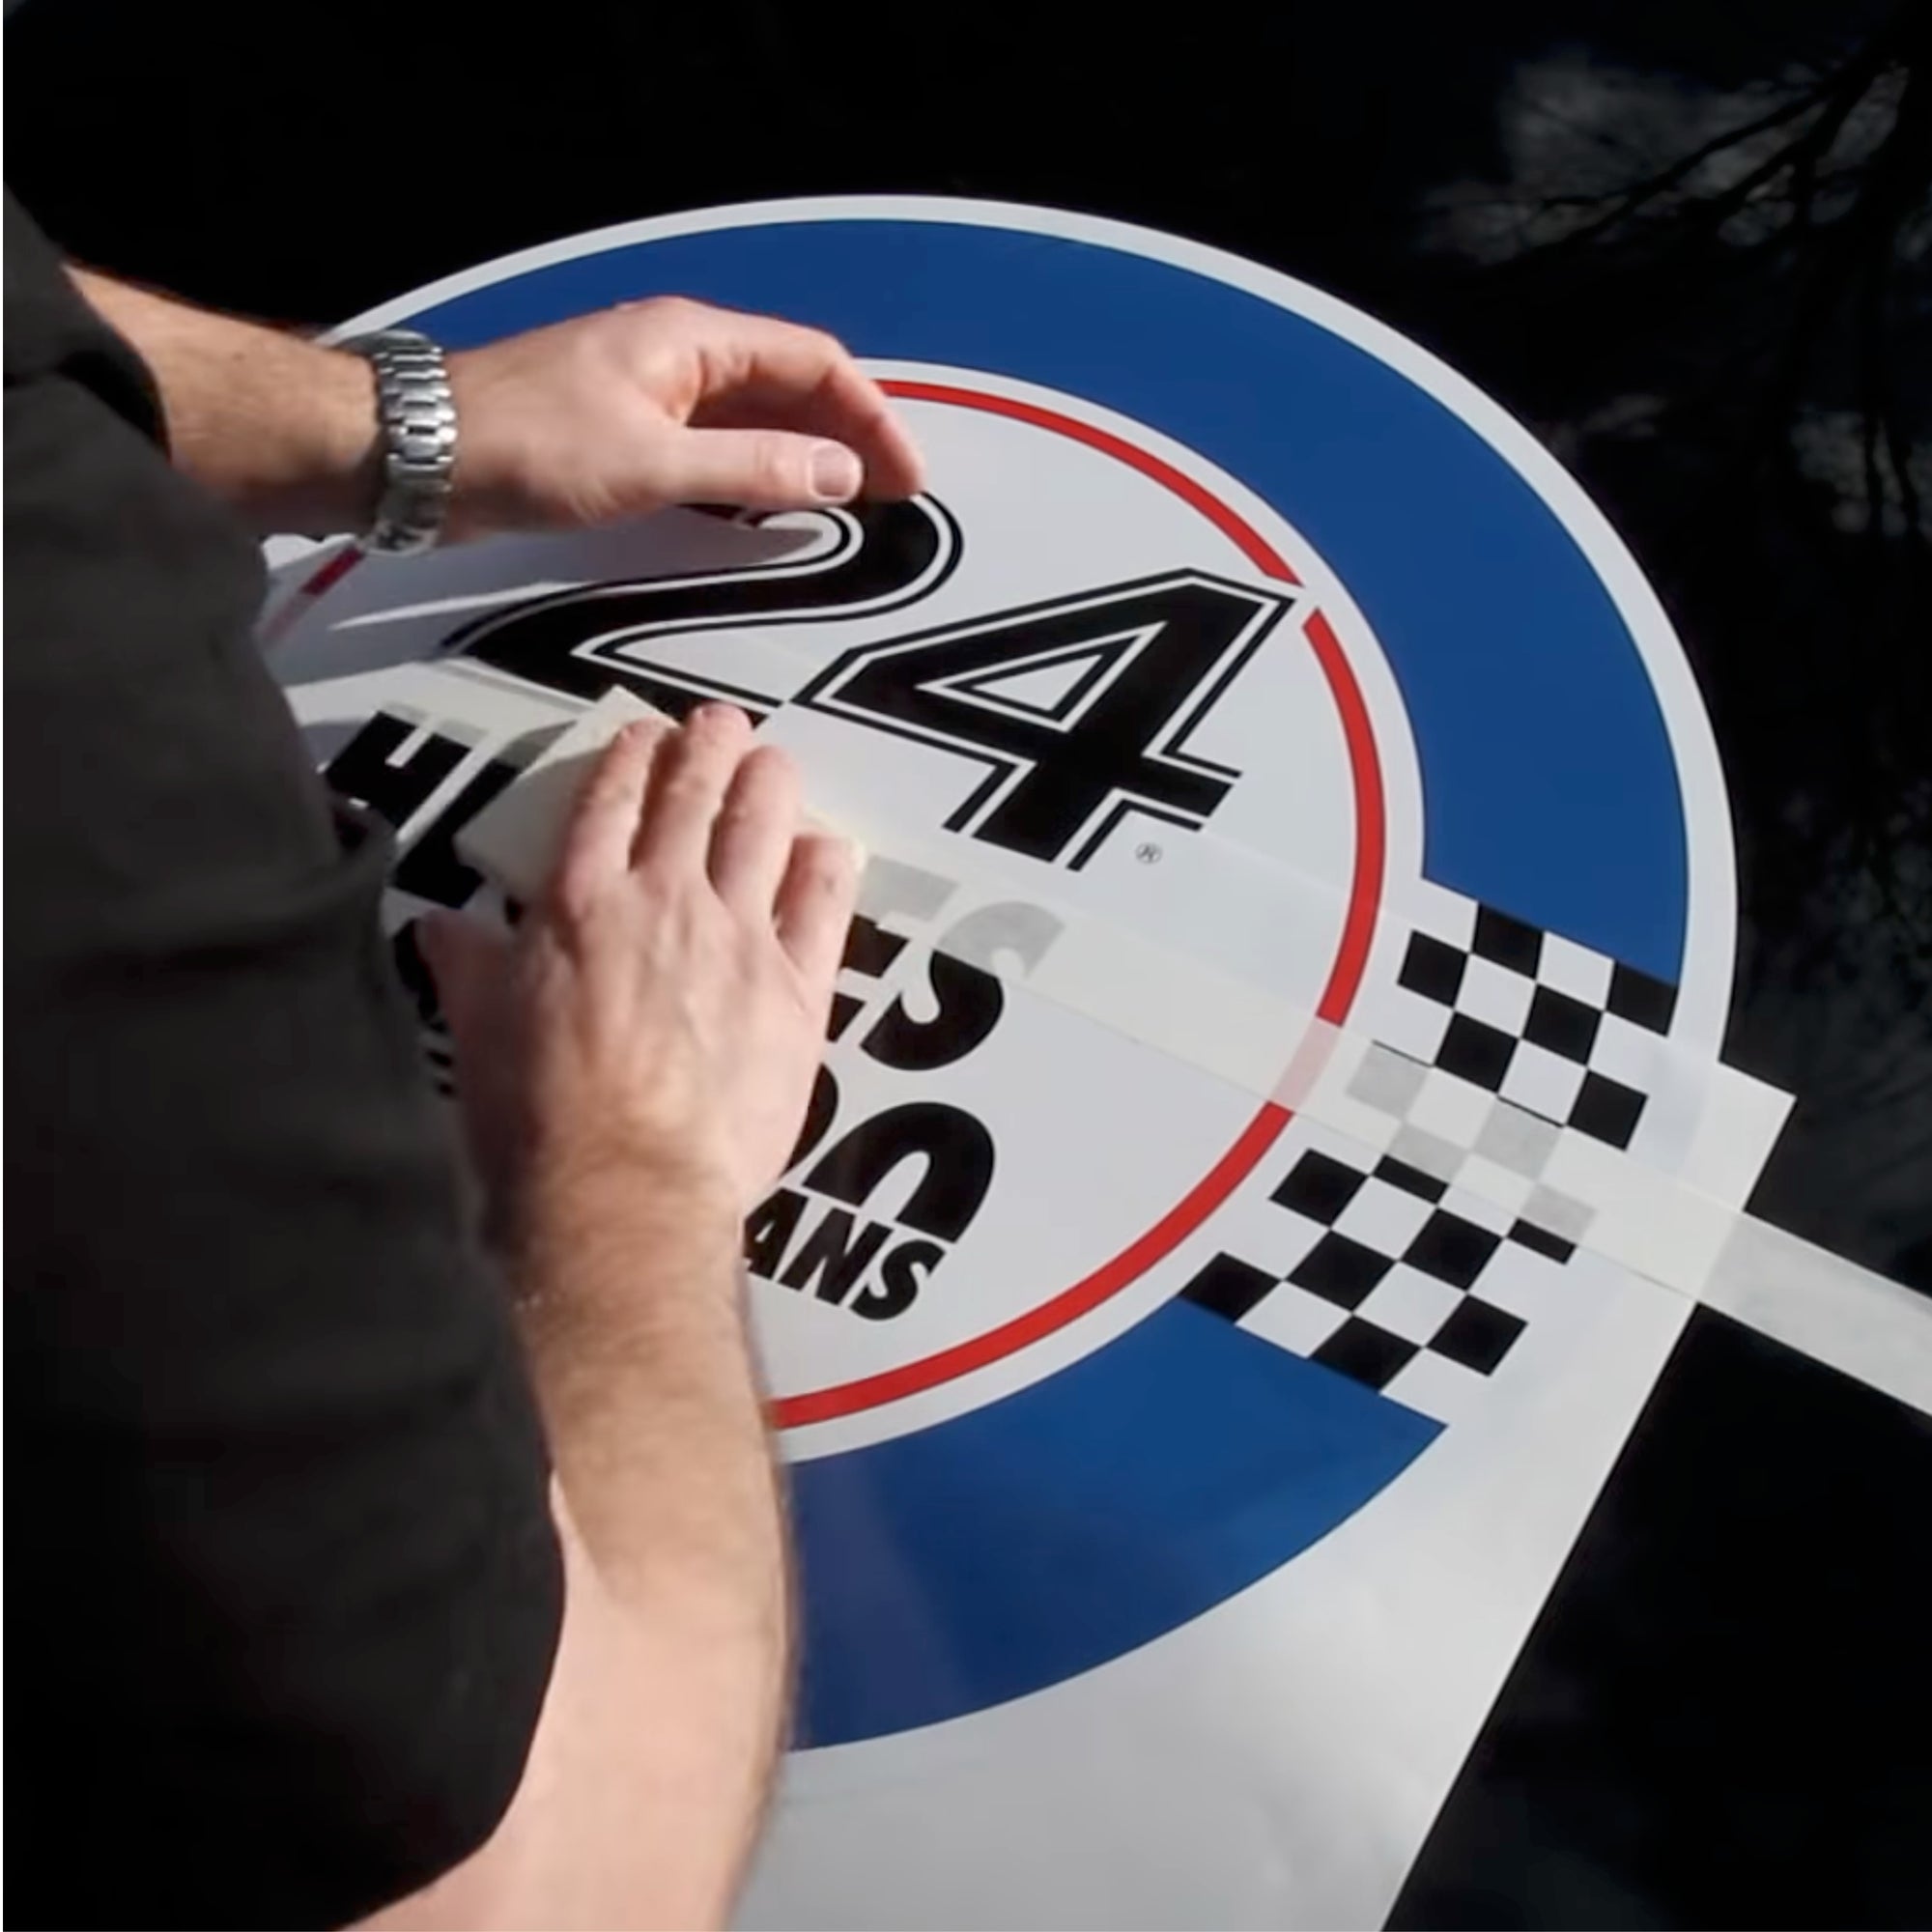
- Use the wet application method for all stickers except those marked as ‘Bubble Free Application’. For the inexperienced the wet application method makes the art of applying stickers a lot easier and the only real downside is that you have to wait a little while before driving around at speed. All you need to do is to spray a fine mist of water onto the panel where you are applying the sticker and then spray the sticky side of the sticker (yes, the sticky side). Don’t be afraid, you can be quite liberal with the spray. Place the sticker onto the panel and you will be able to slide it around until it is in the perfect position. Working from the centre of the sticker carefully squeegee out the excess water. If you have any bubbles remaining then you can prick them with a pin and squeeze the air out.
- TAKE YOUR TIME! Don’t rush the application of your stickers. Getting StickeredUp4LeMans is for many one of the key elements of the Le Mans experience. If a group of you are going then have a stickering up party! Light the BBQ, have a few beers and then set to work.
- Stand back and admire your handiwork. Enjoy what you have achieved. Don’t worry if you can see small bubbles when you look really closely, no one else will notice (except if it’s really bad – you know who you are!).
- Removal... follow the instructions and video on our website. The easiest way to remove your stickers is to apply some heat to soften the adhesive slightly. You may want to test a small sticker first to get an idea of how much heat is required. Too little heat and the sticker might tear. Too much heat and you will soften the adhesive too much and some will get left behind. Get it right and you should be able to lift a corner and peel the sticker away without leaving any adhesive behind. Don’t worry if there is a bit of adhesive left behind as that isopropyl alcohol you bought (!!) will easily remove it.